
Understanding the Process of Disabling Your Onboard Graphics Card in Windows 11
Are you looking to disable your onboard graphics card on Windows 11? This can be a useful step if you’re using an external graphics card (GPU) and want to optimize your system’s performance. In this detailed guide, I’ll walk you through the process, covering various aspects to ensure you have a comprehensive understanding.
Why Disable Onboard Graphics Card?

Before diving into the steps, it’s essential to understand why you might want to disable your onboard graphics card. Here are a few reasons:
-
Optimize Performance: When using an external GPU, disabling the onboard graphics card can free up system resources and improve overall performance.
-
Power Efficiency: An external GPU typically consumes more power than an onboard graphics card, so disabling the latter can lead to lower energy consumption.
-
Heat Reduction: By disabling the onboard graphics card, you can reduce the overall heat generated by your system, which can be beneficial for longevity and cooling efficiency.
System Requirements
Before proceeding, ensure that your system meets the following requirements:
| Component | Minimum Requirement |
|---|---|
| Operating System | Windows 11 |
| Processor | 1 GHz or faster with 2 or more cores on a compatible 64-bit processor or System on a Chip (SoC) |
| RAM | 4 GB or more |
| Storage | 64 GB or larger storage device |
| System Firmware | UEFI, Secure Boot capable |
| TPM | Trusted Platform Module (TPM) version 2.0 |
| Graphics Card | Compatible with DirectX 12 or later with WDDM 2.x |
Step-by-Step Guide to Disable Onboard Graphics Card
Now that you understand the reasons and system requirements, let’s proceed with the steps to disable your onboard graphics card in Windows 11:
-
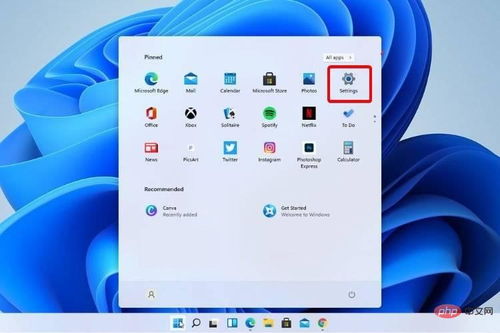
Press the Windows key + X on your keyboard to open the Power User menu.
-
Select “Device Manager” from the list of options.
-
In the Device Manager window, expand the “Display adapters” category.
-
Right-click on your onboard graphics card and select “Disable device” from the context menu.
-
A confirmation dialog will appear. Click “Yes” to disable the onboard graphics card.
-
Restart your computer to apply the changes.
Verifying the Disabling of Onboard Graphics Card
After restarting your computer, you can verify that the onboard graphics card has been disabled by following these steps:
-
Open the Device Manager again by pressing the Windows key + X and selecting “Device Manager” from the menu.
-
Expand the “Display adapters” category.
-
Check if your onboard graphics card is listed. If it’s not present, it means the onboard graphics card has been successfully disabled.
Additional Tips
Here are a few additional tips to keep in mind when disabling your onboard graphics card:
-
Backup Your Data: Before making any changes to your system, it’s always a good idea to backup your important data.
-
Check for Compatibility: Ensure that your external GPU is compatible with your system and drivers are up to date.


