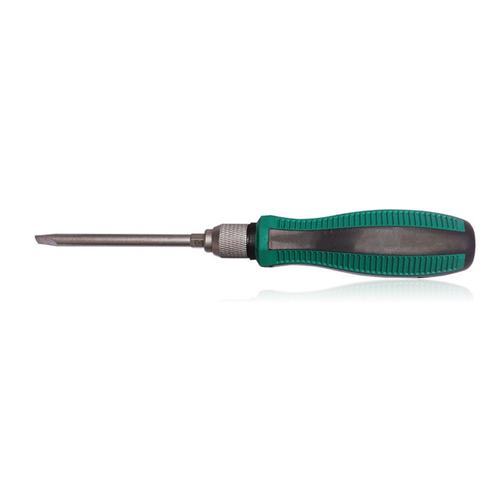
Set Tool Bit: A Comprehensive Guide
When it comes to precision engineering, the choice of tool bit is crucial. Whether you are a hobbyist or a professional, understanding how to set a tool bit correctly can significantly impact the quality of your work. In this article, we will delve into the intricacies of setting a tool bit, covering various aspects such as types of tool bits, proper alignment, and maintenance. Let’s get started.
Types of Tool Bits
Tool bits come in various shapes and sizes, each designed for specific applications. Here are some common types of tool bits you might encounter:
| Tool Bit Type | Description |
|---|---|
| End Mill | Used for cutting slots, pockets, and contours in materials. |
| Drill Bit | Used for creating holes in materials. |
| Reamer | Used for enlarging existing holes to a precise size. |
| Counterbore | Used for creating flat-bottomed holes to accept larger diameter fasteners. |
Each type of tool bit has its own specific applications, and selecting the right bit for the job is essential for achieving optimal results.
Setting the Tool Bit
Setting a tool bit involves several steps, including selecting the correct bit, aligning it properly, and securing it in the tool holder. Here’s a detailed guide on how to set a tool bit:
-
Select the appropriate tool bit for your application. Consider factors such as material, size, and shape.
-
Ensure that the tool holder is clean and free of debris. A dirty or damaged tool holder can cause the bit to bind or break.

-
Insert the tool bit into the tool holder, making sure it is fully seated. The bit should be flush with the end of the holder.
-
Adjust the tool bit’s position using the tool holder’s adjustment mechanism. This may involve turning a screw or using a collet.
-
Secure the tool bit in the tool holder using the appropriate locking mechanism. This could be a collet, chuck, or other type of clamp.
-
Check the tool bit’s alignment using a caliper or other measuring tool. The bit should be perpendicular to the workpiece surface.
-
Perform a dry run to ensure the tool bit is cutting correctly. Adjust the bit if necessary.
By following these steps, you can ensure that your tool bit is set correctly and ready to perform its intended function.
Maintenance and Care
Proper maintenance and care of your tool bits are essential for extending their lifespan and ensuring consistent performance. Here are some tips:
-
Regularly inspect your tool bits for signs of wear, such as chipped edges or dull cutting surfaces.
-
Use cutting fluids or coolants to reduce heat and extend the life of your tool bits.
-
Store your tool bits in a dry, cool environment to prevent rust and corrosion.
-
Use a proper bit sharpening tool or service to maintain the cutting edges of your bits.
By taking care of your tool bits, you can ensure that they remain in good condition and continue to deliver excellent performance.
Conclusion
Setting a tool bit may seem like a simple task, but it is an essential step in achieving high-quality results in precision engineering. By understanding the different types of tool bits, following proper setting procedures, and maintaining your bits, you can ensure that your tools are always ready for the job. So, the next time you need to set a tool bit, remember these tips and techniques to help you achieve success.


