
64-bit Git Installer: A Comprehensive Guide for Users
Are you looking to install Git on your 64-bit system? If so, you’ve come to the right place. In this detailed guide, I’ll walk you through the process of installing the 64-bit Git installer, covering everything from system requirements to post-installation configurations. Let’s dive in!
Understanding Git and Its Importance

Before we get into the installation process, it’s essential to understand what Git is and why it’s so crucial for developers. Git is a distributed version control system designed to track changes in source code during software development. It allows developers to work on their projects independently and then merge their changes seamlessly. Now, let’s move on to the installation process.
System Requirements
Before installing the 64-bit Git installer, ensure that your system meets the following requirements:
| Component | Minimum Requirement |
|---|---|
| Operating System | Windows 7 or later, macOS, or Linux |
| Processor | 64-bit processor |
| Memory | 2 GB RAM or more |
| Storage | 500 MB of free space |
Downloading the 64-bit Git Installer
Now that you’ve confirmed that your system meets the requirements, it’s time to download the 64-bit Git installer. You can download it from the official Git website (https://git-scm.com/download/win). Once the download is complete, locate the installer file and double-click it to begin the installation process.
Installation Process
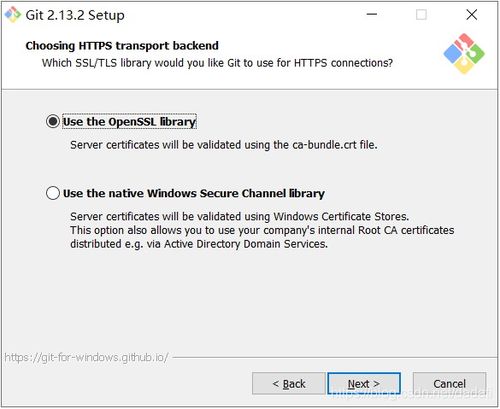
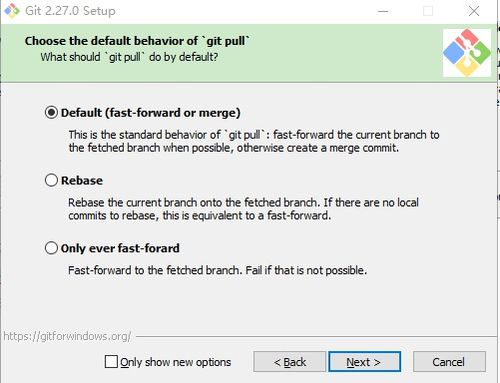
Follow these steps to install the 64-bit Git installer:
- Double-click the installer file to launch the installation wizard.
- Read the license agreement and click “I agree” to proceed.
- Select the components you want to install. By default, the installer includes Git, Git Bash, and MinGW. You can also choose to install Git GUI and other tools.
- Select the installation path. The default path is usually sufficient, but you can change it if needed.
- Choose the start menu folder where you want to create shortcuts for Git.
- Select the option to open the Git Bash here after installation.
- Click “Next” to continue.
- Review your selections and click “Install” to begin the installation process.
- Wait for the installation to complete. This may take a few minutes.
- Click “Finish” to complete the installation.
Verifying the Installation
After the installation is complete, you can verify that Git is installed correctly by opening a command prompt and typing the following command:
git --version
This command should display the installed version of Git. If you see a version number, you’ve successfully installed the 64-bit Git installer.
Post-Installation Configuration
Now that you’ve installed Git, you may want to configure it to work with your preferred text editor or IDE. Here’s how to set up Git with Visual Studio Code (VS Code) as an example:
- Open VS Code.
- Go to the Extensions view by clicking on the Extensions icon on the sidebar.
- Search for “GitLens” and install the extension.
- Restart VS Code to apply the changes.
- Now, when you open a Git repository in VS Code, GitLens will provide you with enhanced Git features and integration.
Conclusion
Installing the 64-bit Git installer on your 64-bit system is a straightforward process. By following this comprehensive guide, you should now have Git up and running on your system. Remember to explore the various features and tools that Git offers to enhance your development workflow


