
Discover the Power of Micro:bit MakeCode with This Comprehensive Guide
Are you looking to dive into the world of coding and electronics with the Micro:bit? If so, you’ve come to the right place. Micro:bit MakeCode is a user-friendly platform that allows you to create interactive projects with ease. In this detailed guide, I’ll walk you through everything you need to know about Micro:bit MakeCode, from its features to its applications.
What is Micro:bit MakeCode?

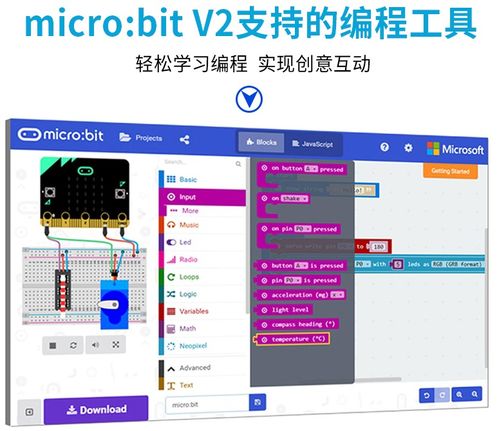
Micro:bit MakeCode is an online platform that provides a visual programming environment for the Micro:bit. It allows users to create code using blocks, which are drag-and-drop elements that represent different commands and functions. This makes it accessible to beginners and experienced coders alike.
Features of Micro:bit MakeCode
Here are some of the key features of Micro:bit MakeCode:
- Visual Programming: The platform uses a block-based programming language, which makes it easy to understand and use.
- Wide Range of Blocks: Micro:bit MakeCode offers a variety of blocks that cover different aspects of coding, such as sensors, inputs, outputs, and more.
- Online and Offline Access: You can access Micro:bit MakeCode online or download it as an app for offline use.
- Community Support: The platform has a large community of users who share their projects and provide support to each other.
Getting Started with Micro:bit MakeCode
Here’s a step-by-step guide to getting started with Micro:bit MakeCode:
- Visit the Micro:bit MakeCode Website: Go to https://makecode.microbit.org/ and sign up for an account.
- Download the Micro:bit Editor: Once you’ve signed up, download the Micro:bit Editor from the website.
- Connect Your Micro:bit: Connect your Micro:bit to your computer using a USB cable.
- Open a New Project: In the Micro:bit Editor, click on “File” and then “New Project” to create a new project.
- Start Coding: Use the blocks in the editor to create your code. You can find blocks for sensors, inputs, outputs, and more in the “Extensions” tab.
Creating Projects with Micro:bit MakeCode
Micro:bit MakeCode is great for creating a wide range of projects. Here are some ideas to get you started:
- LED Projects: Use the LED blocks to create patterns, animations, and even games.
- Sensor Projects: Connect sensors to your Micro:bit and use them to detect motion, temperature, and more.
- Input Projects: Use buttons and switches to create interactive projects that respond to user input.
- Output Projects: Use the Micro:bit’s onboard speaker to play sounds or use the motor to create moving projects.
Table of Common Micro:bit MakeCode Blocks
| Block Type | Description |
|---|---|
| LED | Control the onboard LEDs on the Micro:bit. |
| Sensor | Read data from various sensors connected to the Micro:bit. |
| Input | Read data from buttons and switches connected to the Micro:bit. |
| Output | Control outputs such as the onboard speaker and motor. |
Advanced Features of Micro:bit MakeCode
As you become more comfortable with Micro:bit MakeCode, you can start exploring some of its more advanced features:
- Variables: Use variables to store and manipulate data in your code.


